 |
| The beloved belt. |
Wayne bought a burner belt three years ago. He has worn it almost daily, and this puzzle box of pockets carries all of his essential stuff. Last summer he lamented its impending demise. The linings of several pockets had worn through, and his fixes with gear repair tape wore out quickly. As soon as we bought a sewing machine, he suggested that I might be able to repair it. I added it to the long list of sewing projects and promptly forgot about it.
The calendar turned to spring, and like magic the sun returned. "I miss my burner belt," he said. All winter he has worn a
hoodie with a million pockets, designed for the nerd on the go. Seriously, this thing can carry a full-sized ipad, and it manages to not look weird and lumpy. For winter, it's impressive. In summer, it will be oppressive.
In April, I decided to tackle reproducing this beloved bag. I spent an hour or two sketching out the layers, trying to figure out where all those flaps and zippers led. The torn linings and multiple layers made this difficult.
 |
| Puzzling out the pockets. |
I contemplated making a pattern, but I decided that the only way to achieve success in this project was to wing it. I would cut and sew the pieces a few at a time and assemble them in layers. I wasn't entirely certain how many pieces I would need, and patterning is a lot of work. I wrote out the basic order of assembly and started tracing around the first few shapes. I expected to do a lot of seam ripping, and I hoped that the finished product would at least show me how to start over. I didn't dare to hope that it would be a success.
 |
| Note to self: this will be a challenge. |
I sewed the two smallest outside pockets together, and they looked okay! I gave myself a little pat on the back and forged onward. Then I sewed those two pockets to the wrong side of the next layer.
 |
| Those pockets are supposed to go on the outside. Oops. |
Thus the seam ripper made its first appearance. Fortunately this is a small scale project, so it only took a few minutes to tear out the seam and reverse it.
 |
| That's better! |
Next I sewed the first zipper onto the main front panel. It's at the top of the pouch in the photo below, but you can't see it. Then I attached the outer pouch to the main front panel.
 |
| Pouch and zipper attached! |
Next I cut out three more pieces identical to the large front panel. I made the innermost panel purple (Wayne's favorite color) to provide contrast inside the pockets. The main pouches on the front and back would theoretically open onto the purple panel. I sewed one zipper into the back panel, then realized I didn't have enough zippers. I had not expected to get this far on the project in a single afternoon! By the end of the day, I had cut all but the last few pieces and was feeling pretty confident that this might actually work.
The next morning I took the new cargo bike for a spin to the fabric store. It isn't far from our storage unit, so I picked up a few other necessities while I was out.
 |
| I did not load up this heavily at the fabric store, I swear! |
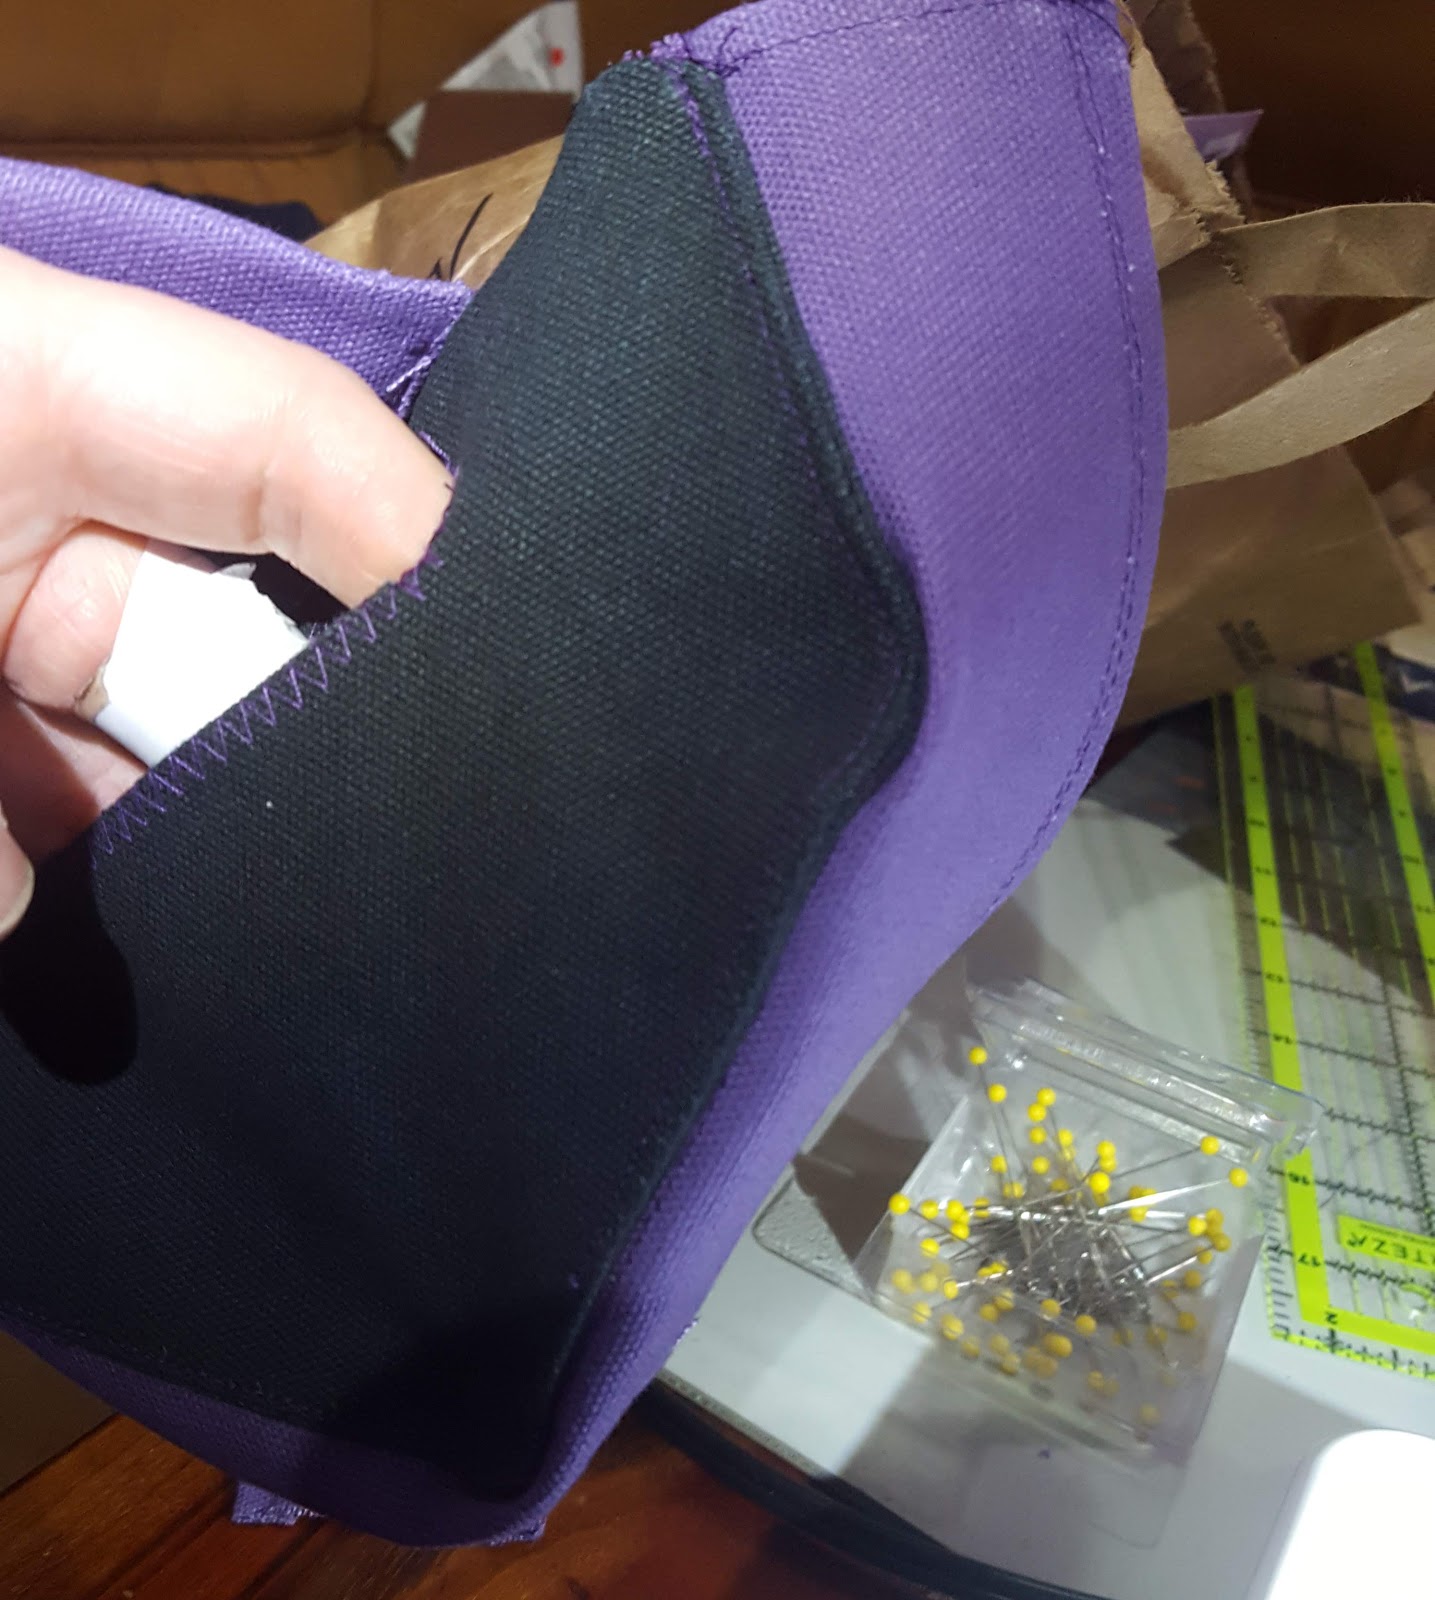
I affixed the second zipper to the back panel, then sewed the lining to the back. Then I added the flap that folds over the whole bag on the oblong belt part. The black part of the flap is structural. I considered adding another pocket, but I didn't want to add bulk. That section already has three pockets anyway.
 |
| Inside of the back panel. |
 |
| Outside of the back panel. |
The hardest part of the whole project came next. After I attached the flap that snaps over the front panel, I added the zipper that goes from the front of the flap through four layers of canvas. There is probably a better way to do this, and I'm concerned that the seam will fray over time. I guess only time will tell.
 |
| The hardest part was adding the zipper through multiple layers, seen here from the back. |
 |
| The zipper on the left was the hard one, and of course it was the ugliest because it's on the front. |
All that was left now was sewing the front and back panels together, adding the tabs and D-rings that attach to the belt, and adding the snaps.
I sewed a few of the remaining seams with the Sparrow, but I had to get out the LSZ-1 (it really needs a nickname. Maybe the Lizard?) to sew the bulkiest parts, some of which had more than a dozen layers of canvas. Even on the burly machine, the material barely fit under the presser foot. Reversing was not an option; the thread knotted and/or jammed instantly. I just went over the same row of stitches multiple times.
Snaps were a new adventure. It was quite disconcerting to punch holes in the finished product. I made a few mistakes, and I have advice for those who might try this: don't screw it up! Snaps are very strong and difficult to remove should you, say, (ahem) put half of one on backwards or leave a piece out.
Total parts included in this project:
14 cut pieces of fabric (roughly 1/2 yard)
6 snaps
5 zippers
9 pockets
While there are a few corners that aren't as neat as I would have liked, and the stitching could have been straighter, I'm thrilled with how this turned out. I think I'll make another one for myself.
 |
| The finished product. |


Comments
Post a Comment