 |
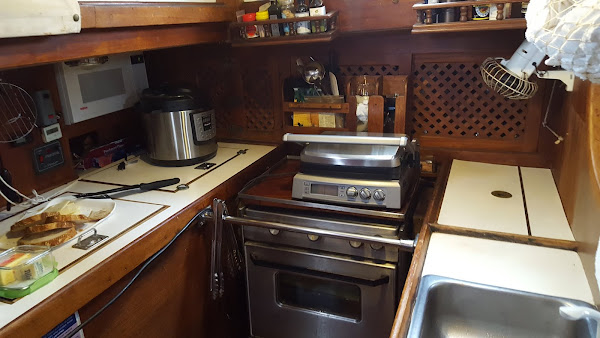
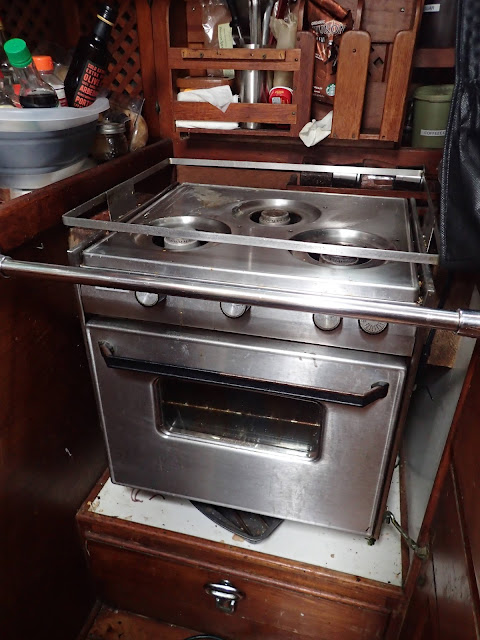
Original galley: too small, inefficient use of space
|
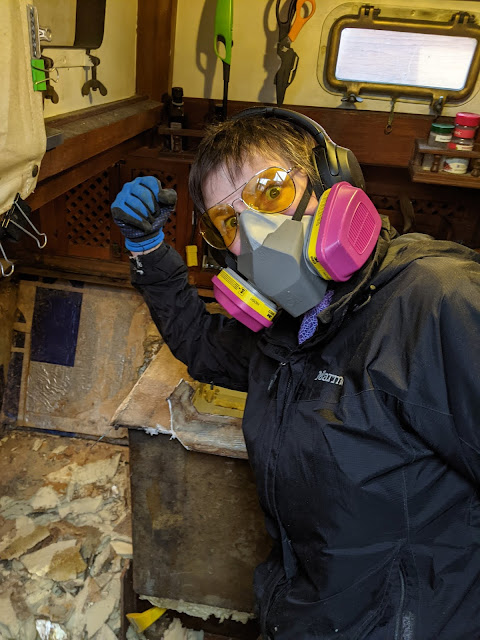 |
| Kill all the foam! |
We decided last year that we wanted to move and expand the galley. We also planned to replace the existing wiring and plumbing throughout the boat, so we knew all of the current infrastructure had to go. Over the summer, Emily started hacking away at the galley, removing a pickup truck load of foam insulation from the old refrigeration compartments.
 |
| So much foam! 8 layers of 2" thick foam under each refrigeration box and 2-6 layers on each side. |
Forty years of water damage had worked some evil on the plywood sink surround, but the cabinet face and drawers were still solid. The drawback to all that hardwood cabinetry? It was built to stay there forever, solidly glued and nailed, thus no small feat to extract.
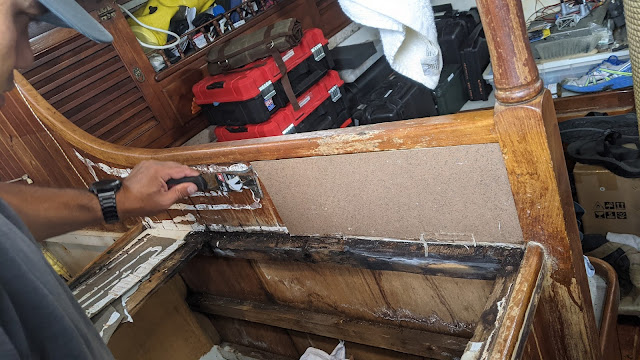 |
| Previous owner covered the water damaged wood backsplash with plastic laminate. |
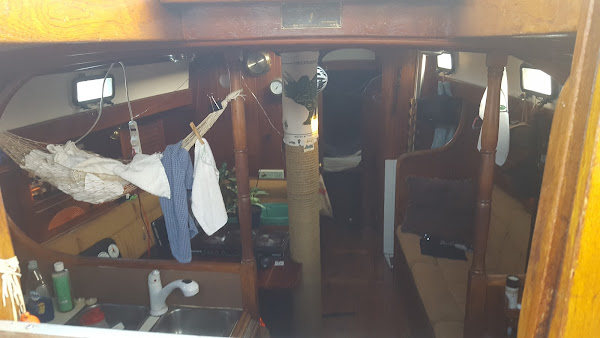
The cabin sole is 3/8" of teak and holly, glued onto 3/8" of marine plywood, which is in turn glued onto the floor ribs of the boat. Under all that lie our rusty, leaky, poorly welded water tanks. Each of the tanks is roughly 72'x36"x10" and has a single inspection port, above which is a removeable floor panel. We have long deliberated the best method for dealing with the tanks. Clean and resurface the insides of all four tanks? Remove all of the furnishings and cabin sole to remove and replace them entirely? Cut them up and remove them in pieces, then replace them with flexible tanks?
Until we started to remove the cabin sole, we weren't certain what we might find.
Emily spent several days painstakingly using an oscillating tool, multiple chisels, paint scrapers, crowbars, and a dead-blow mallet, cutting and prying up the floorboards, salvaging as much of the hardwood as possible. We will eventually need to add more flooring as we change the layout, but we didn't want those trees to have died in vain.
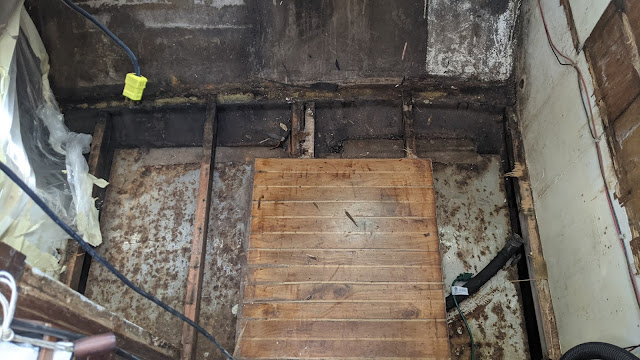 |
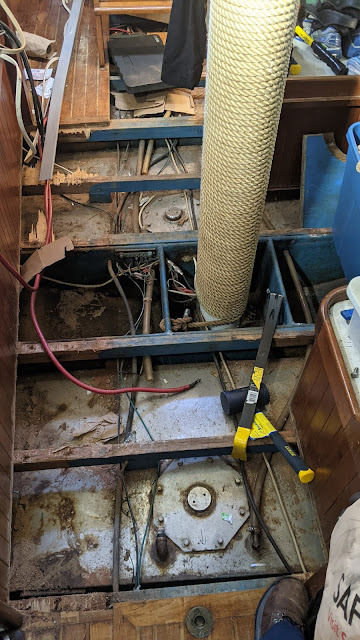
| Galley floor with ribs and two water tanks below |
For the next step, we needed to pull the floor that covered the remaining tanks and add a foot to secure the bottom of the ladder.
 |
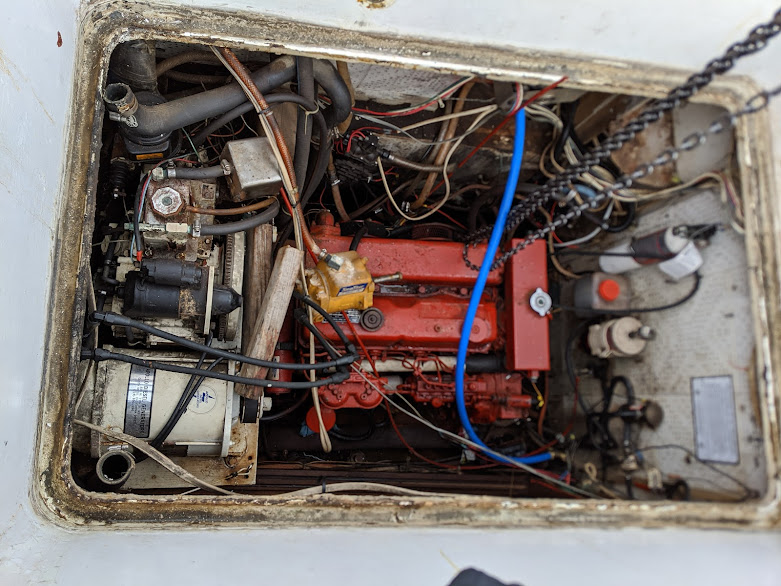
| Current status: two more tanks exposed, saloon floor removed. |
We ultimately decided to cut the tanks and remove them in pieces. Otherwise we would need to remove the dinette seats, settee, nav station, and battery switch to get to the ribs, which run across the width of the boat on top of the tanks. We hope to be able to reach far enough under the furnishings to clean and paint the bilge before installing the new soft tanks.
The mast comes out next week, which will give us a little more room to move.
Comments
Post a Comment